Kali GUI on Kasm

I've been trying to ascertain the best approach for OSINT investigation work and penetration test work (or white-hat, or ethical hacking, or whatever you want to call it...) and at some point I came across the Kasm platform.
If you've not come across Kasm before, it's a pretty powerful way you can spin up applications, browsers or whole machines to use, and then after you're done with them you can just chuck 'em away. No kidding! You can download all sorts of weird crap, get your machine infected with all sorts of horrible cyber goblins, and then just trash it and reload a fresh machine in a matter or minutes. There's even a handy Chrome extension you can use to open links you thing maybe dodgy (though I've not used it personally). For those of you who are OpSec savvy, there's also a way to run this through a VPN, but I'll probably leave that for another post.
The way Kasm achieves this is through containerisation. If you're not familiar with concept of Docker, containers and images don't worry, we'll be fairly light on these topics going forward. Although I would caveat this with a suggestion that it's a good topic to learn and I'll try and write something on this at a later date as it took me a while to get my head round it.
So, what will you need? You'll want to be running your own server on some Cloud provider somewhere for a start. It doesn't matter which, but I'll be covering it using Linode. If you don't have a VPS (Virtual Private Server) yet you can sign up for one and they usually give you some pretty generous credit if you've not signed up before.
One thing to note is the type of machine you want your server to be. I would highly recommend you choose an instance of Linux Ubuntu x86_64 as I've had issues with docker in other flavours of Linux regarding Docker installations.
Get a terminal window set up on your computer (I'm using a macbook here - so sue me...) and type out the following, changing <your_servers_ip_address> to the ip address provided for you by your cloud provider.
user@Someone's-MacBook-Pro ~ % ssh root@<your_servers_ip_address>You'll be prompted for your password. After you've done this correctly you'll be signed in as root on your new machine and will something like the below on you're screen.
root@localhost:Following the Kasm installation documentation (which you can find here), they recommend creating a swap partition. I've done this a few times now and I think I've not done this once or twice and not suffered any issues, but for belt and braces it's probably a good idea. You can do this by typing the following:
sudo bash kasm_release/install.sh --accept-eula --swap-size 8192From here, now we can start the Kasm installation. Type the following commands in your terminal window. You can type it line by line or just in one, but if you do the latter make sure to add double ampersands in between each line.
cd /tmp
curl -O https://kasm-static-content.s3.amazonaws.com/kasm_release_1.16.0.a1d5b7.tar.gz
tar -xf kasm_release_1.16.0.a1d5b7.tar.gz
sudo bash kasm_release/install.sh
This will install Kasm and all sorts of other packages and will likely take some time. What is very important though is that after everything has been installed, you will be issued with a number key pieces of information. Take a copy of this and store it somewhere safely (I would advocate some kind of password manager like Bitwarden or LastPass if you can). You will need your login details in the next step!
Now login to your server on port 443 at https:<your_servers_ip_address> . You may be greeted with a page saying you're about to go to an insecure page or something like that. Don't worry, that's just the browser saying that it can't vouch for your safety, but I think we can be certain that we're all good in this case. Just click on continue to connect and you should see your Kasm login page
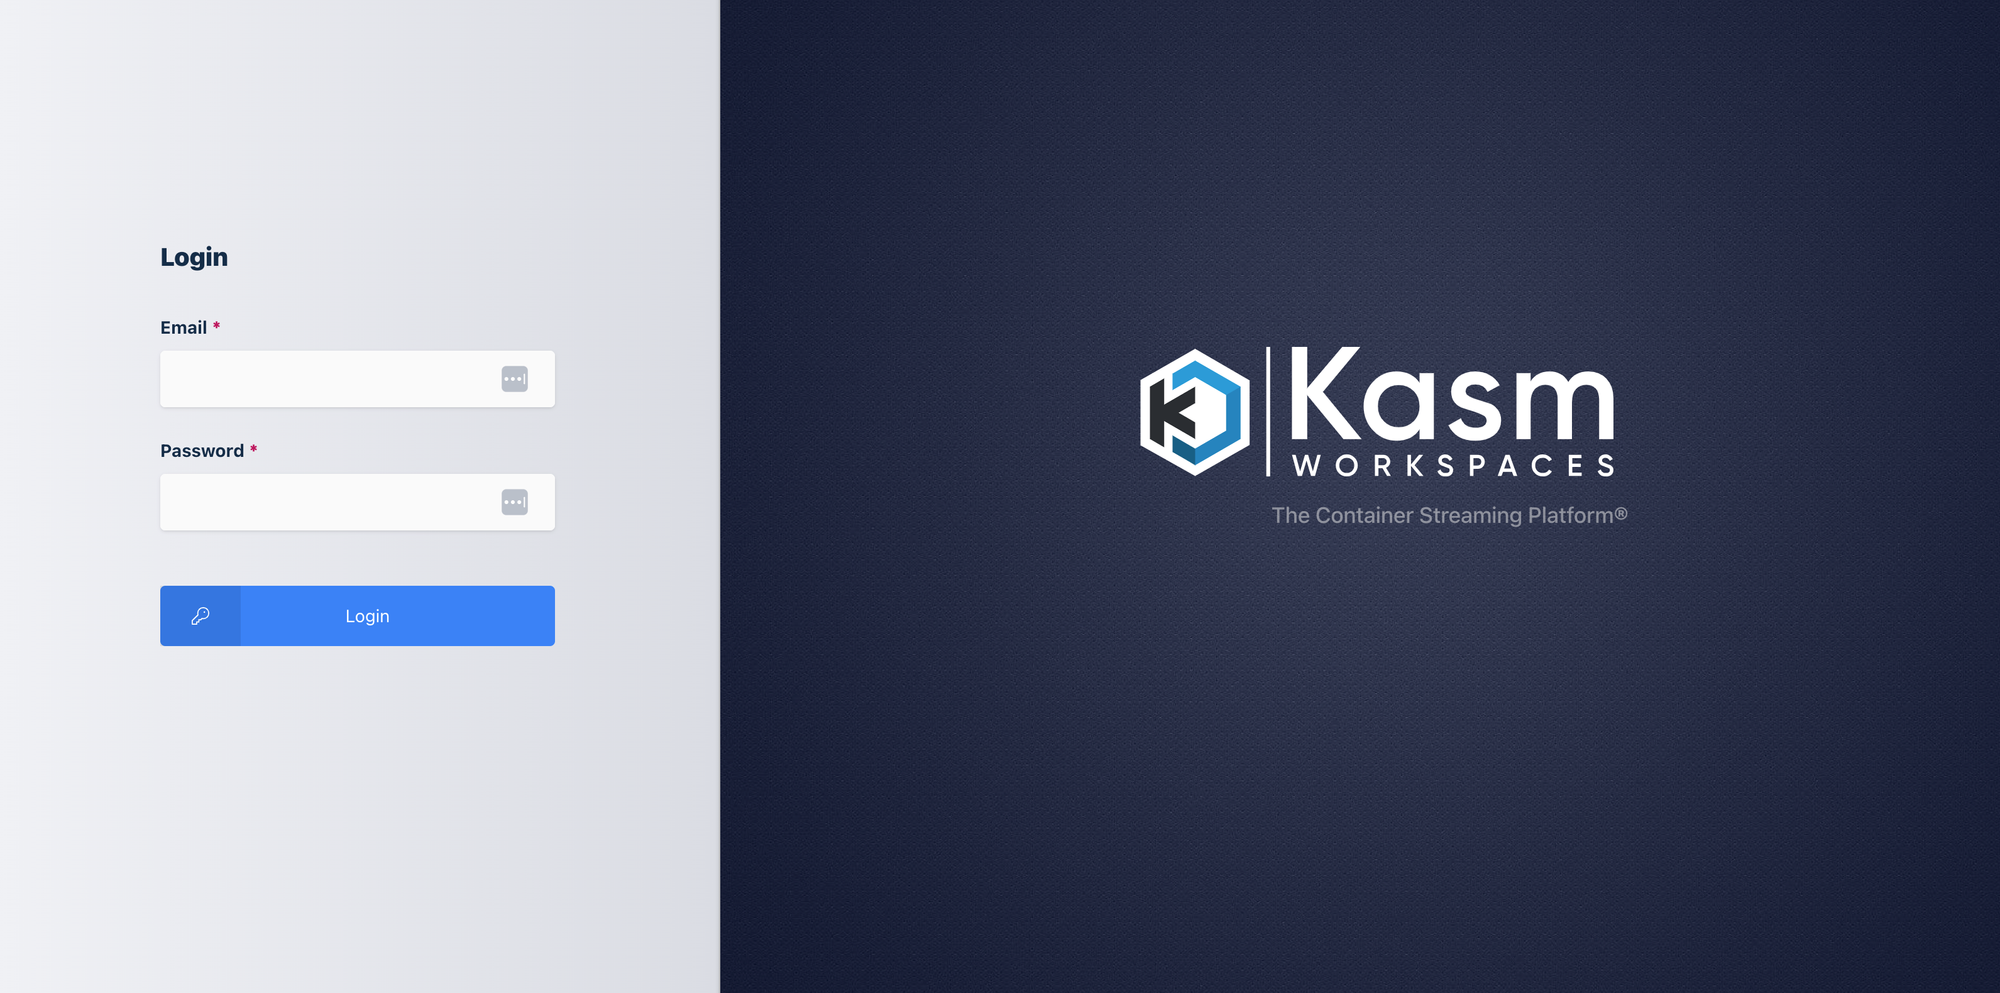
Enter the admin email and password you were issued and stashed safely (you did store it didn't you?) and continue to your Kasm Dashboard.
You'll notice that there is a grey column on the left. Click 'Workspaces' and then in the sub menu click 'Registry'. This will, unsurprisingly, take you to the Kasm workspace registry list where you can register a whole host of containers Kasm already has ready to go. You'll find our version of Kali Linux here, but it's worth having a look at all the other containers available to us as there's all sorts of good stuff like Maltego, Brave, Tor and even Doom (?!).
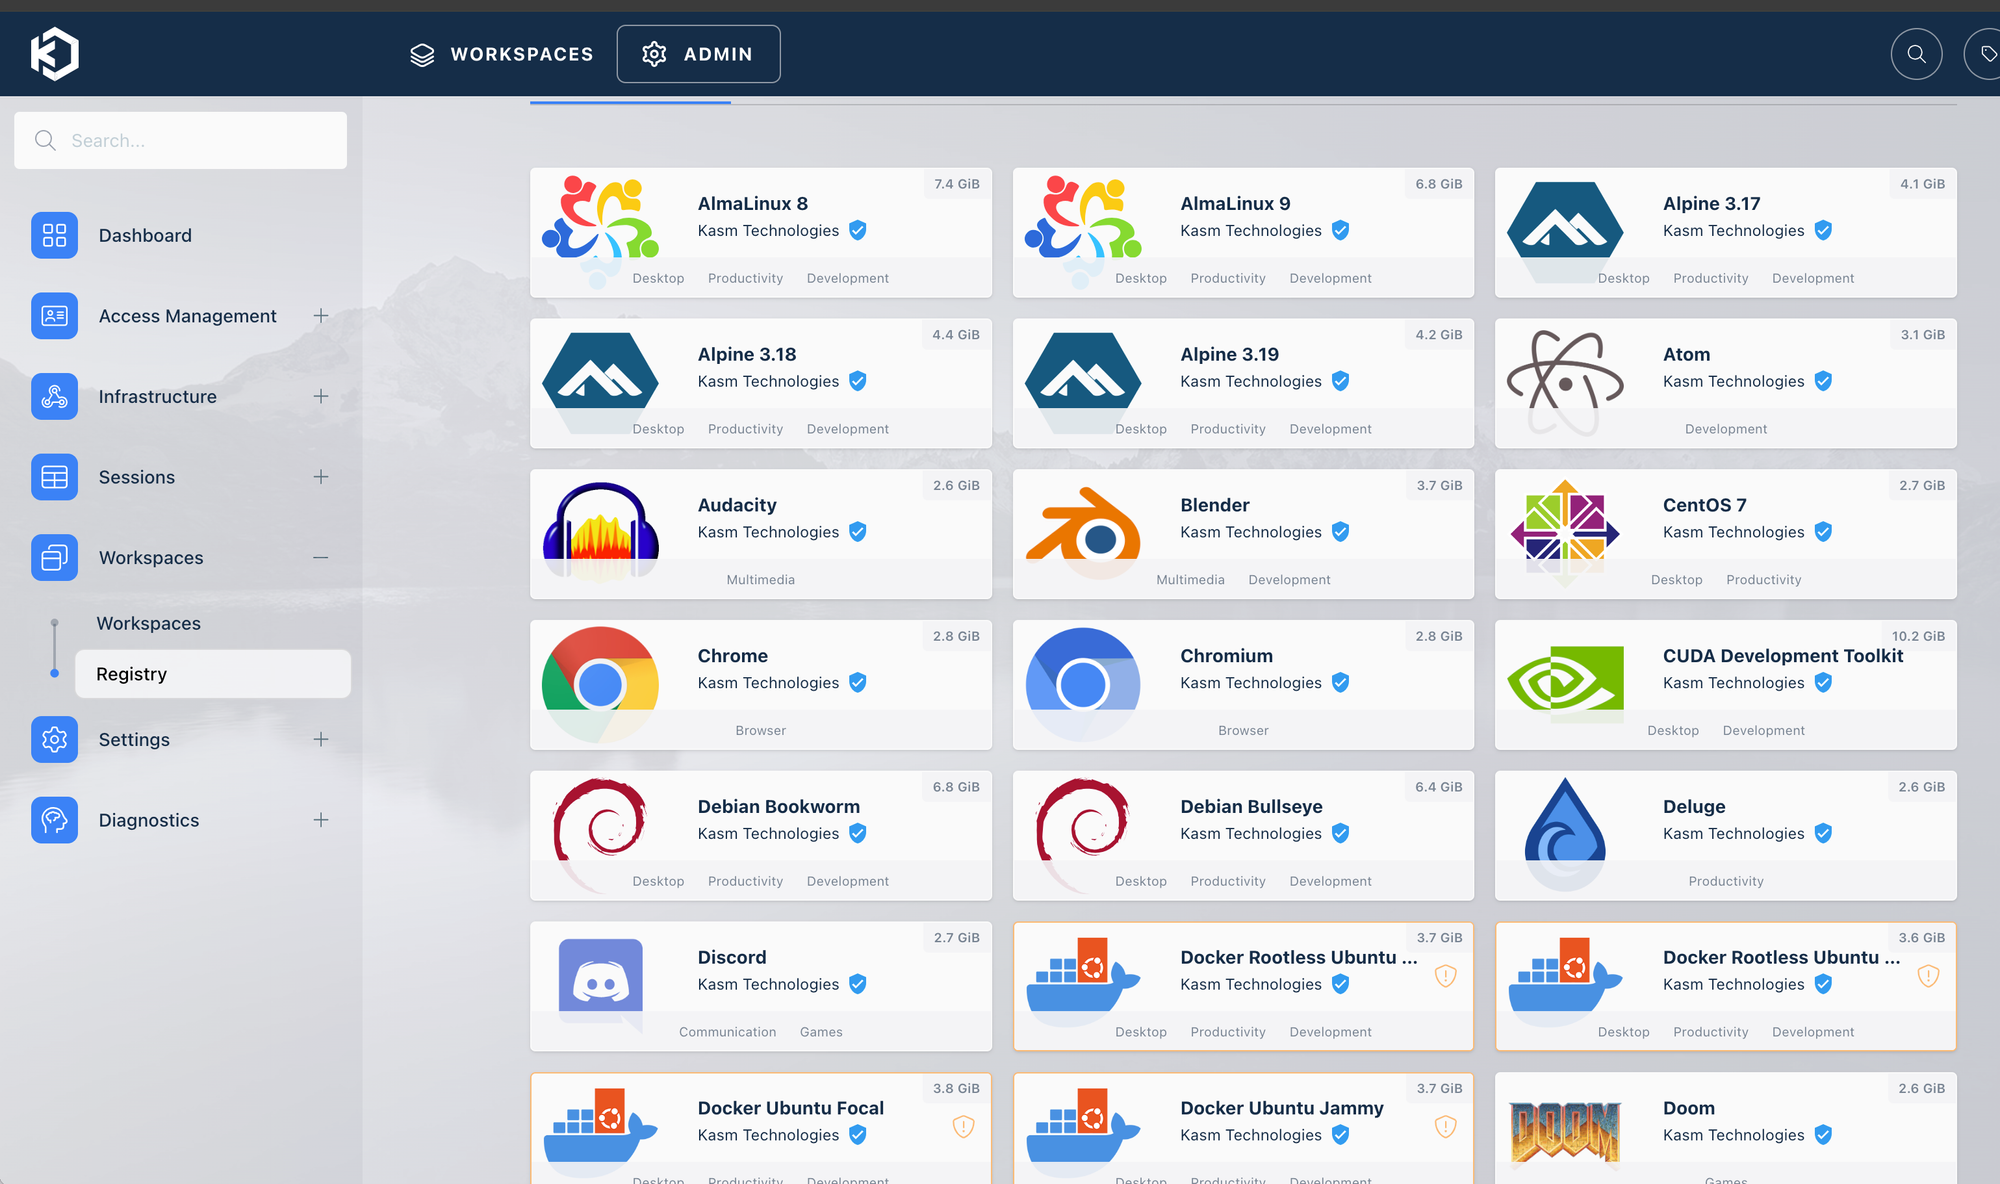
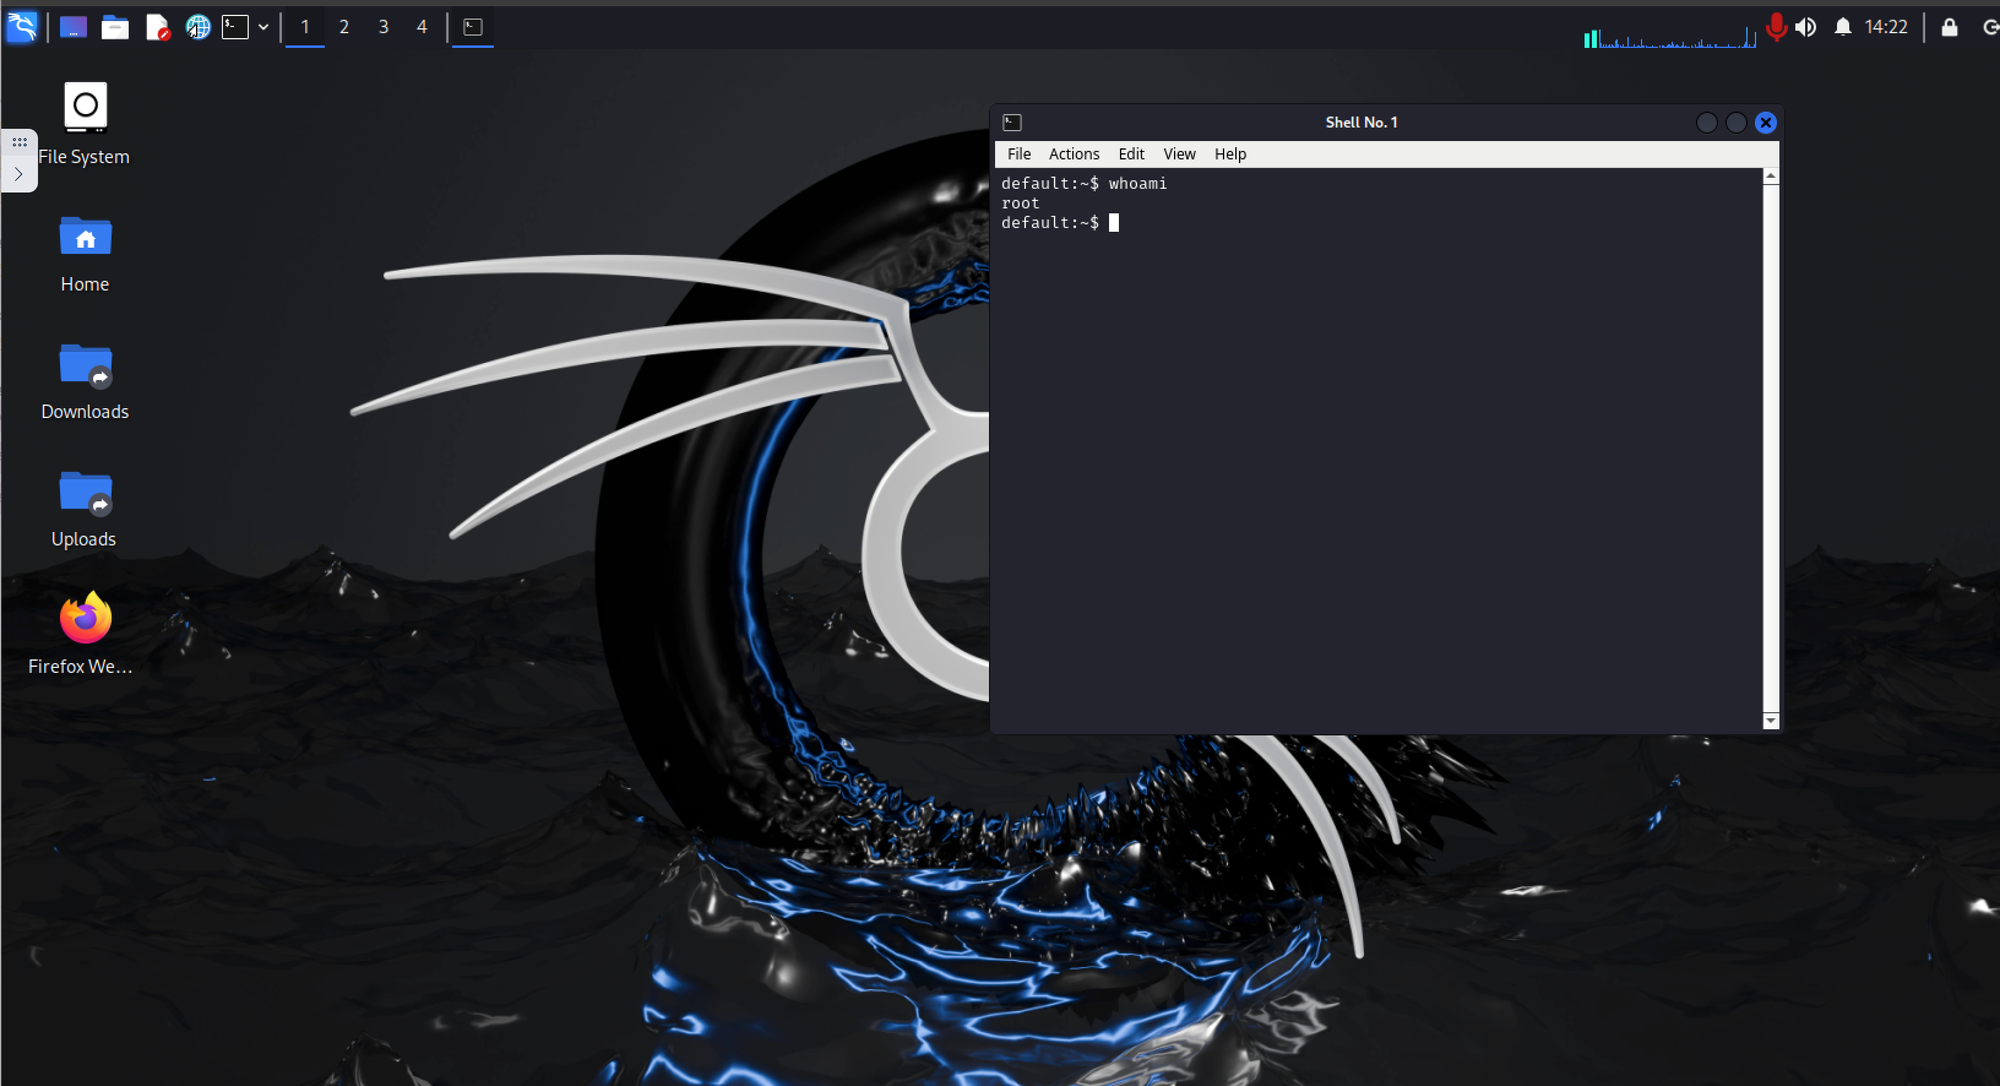
Scroll down the list until you find Kali and click it to install. This will take a minute or two, but you'll shortly be informed that the download has been completed. Now you can click on 'Workspaces' at the top of the screen which will take us to where we keep all our downloaded containers. From here simply click on our Kali instance to get it running and, hey-presto, you've got Kali running in the browser on a virtual machine with a completely different ip address than your own machine!🍻
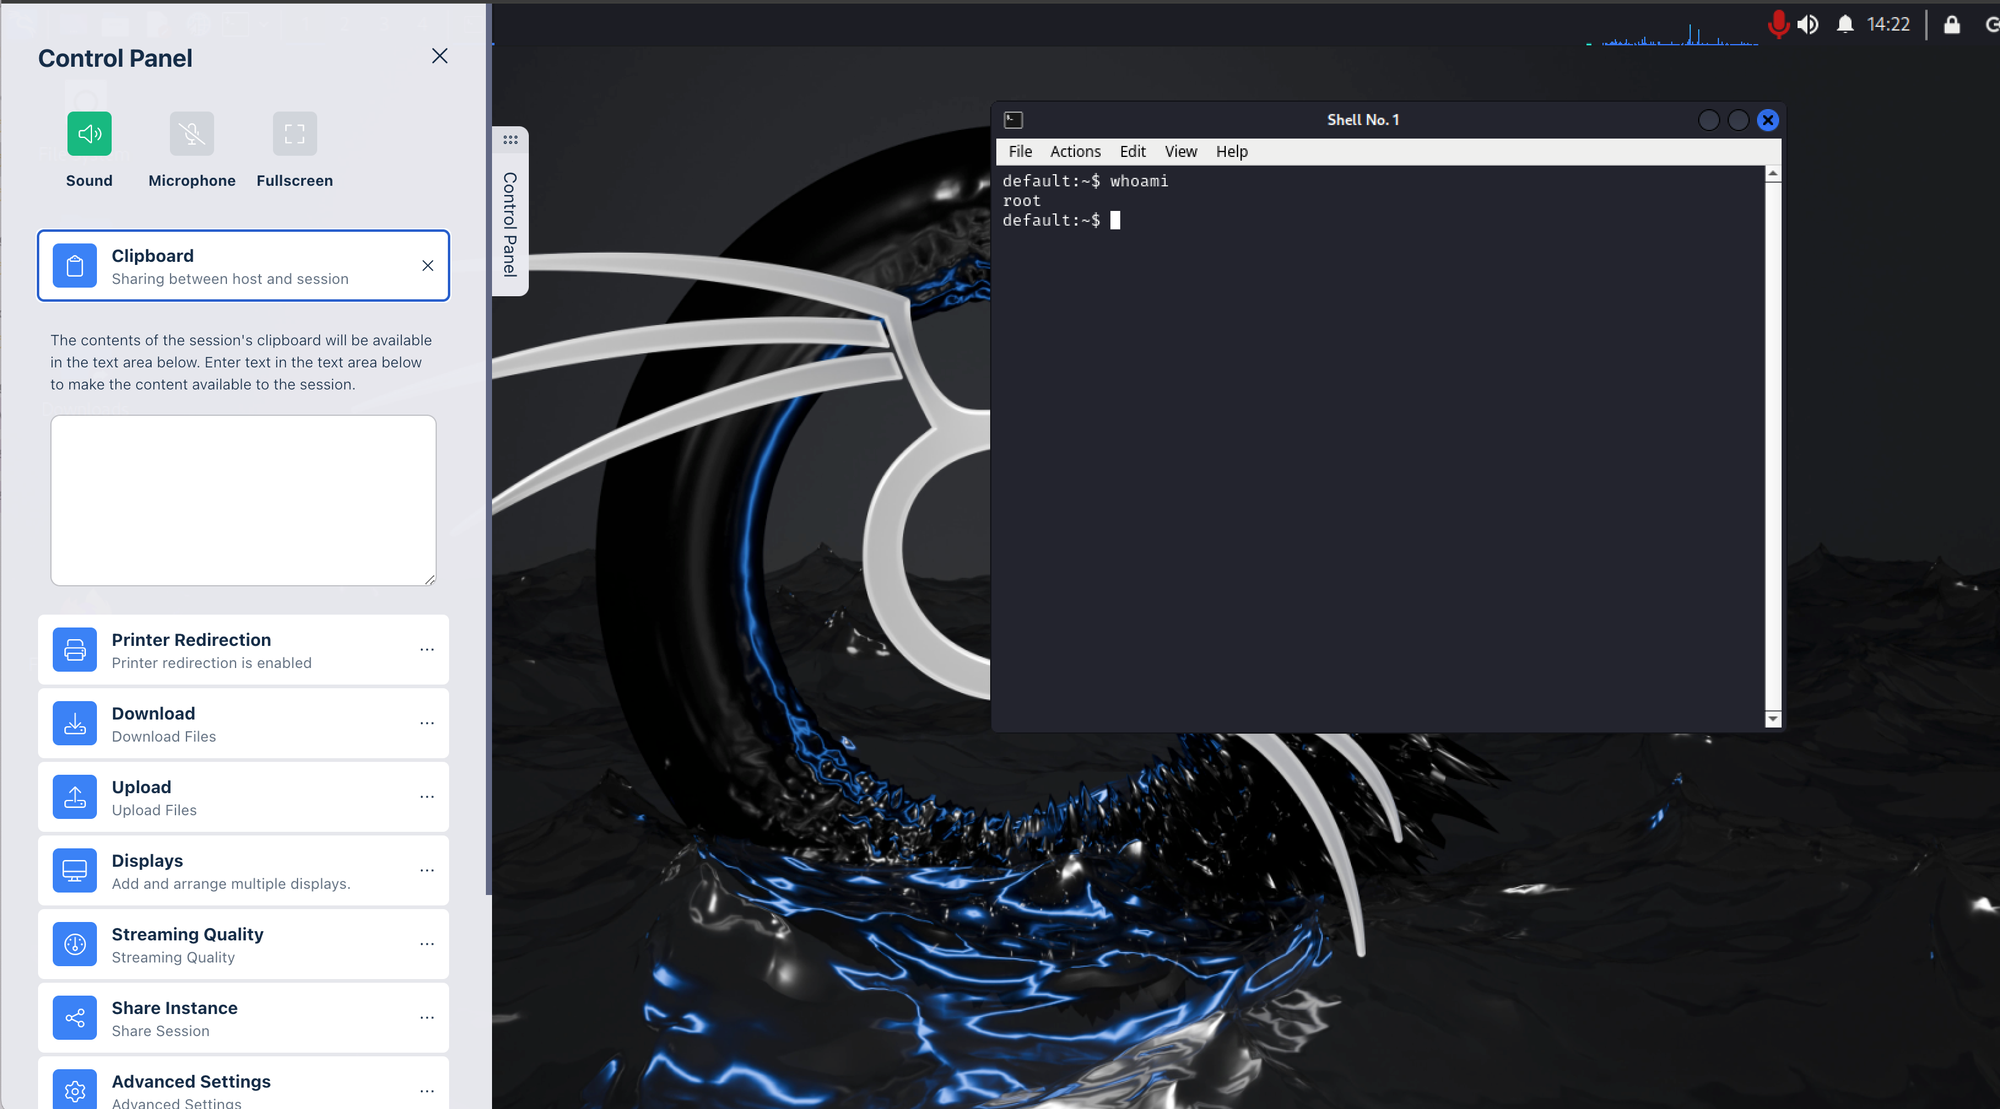
Side note:
There are certain things which you'll notice you cannot do such as running as root, which is problematic for a number of reasons, not least for running various applications. There is documentation regarding this online, but I'll try and update this post at a later date. Another issue is trying to run a browser (Firefox in particular). The best way to get around this quickly is to open up Burpsuite and run the browser from there (you will need to enable this in Burpsuite's settings). Lastly, to copy and paste between your Kali instance and everywhere else you will need to use the pull out clipboard on the left as you can see in the below screen shot.
I hope this has been useful to someone and you have a lot of fun using Kasm on your VPC 😁😁😁
